In today’s world of productivity, efficiency and seamless integration between devices are paramount. Universal Control is a game-changer for anyone who works across multiple Apple devices. Introduced in macOS Monterey and iPadOS 15, Universal Control allows you to control your Mac and iPad with a single mouse or trackpad, making multitasking and cross-device workflows easier than ever.
Whether you’re working from home, in the office, or on the go, Universal Control helps streamline your workflow by allowing you to move the cursor seamlessly from your Mac to your iPad, drag-and-drop files between them, and much more. In this guide, we’ll walk you through how to set up and master Universal Control to improve productivity across your Apple devices.
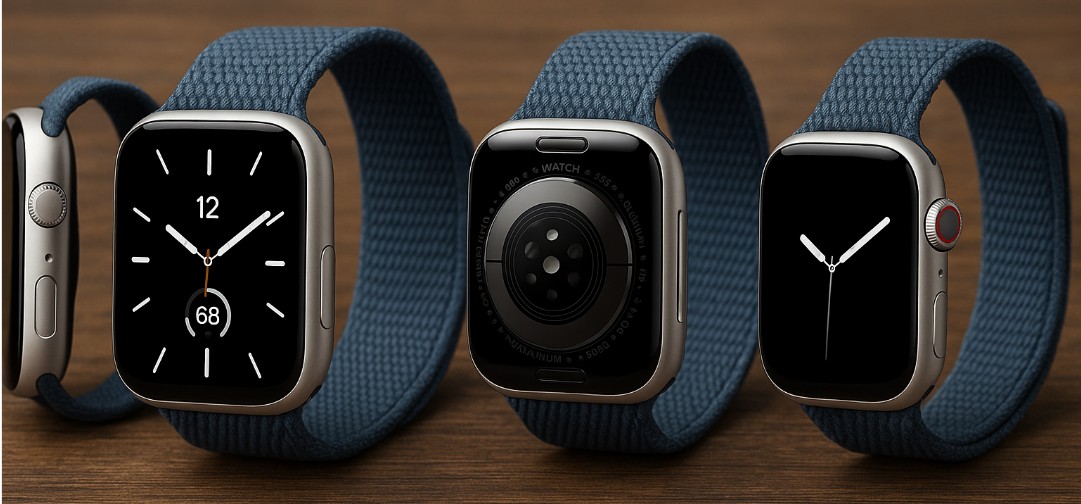
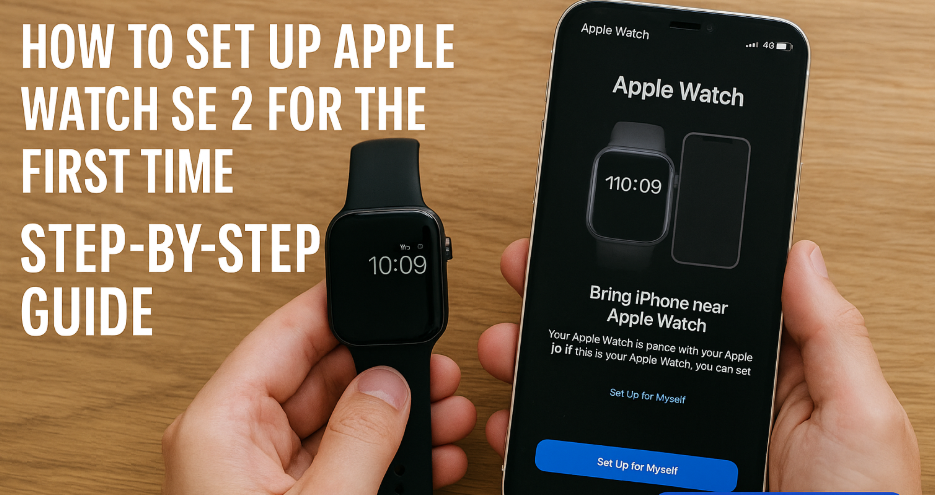
For an in-depth review of Apple Watch SE 2nd Gen and its integration into your Apple ecosystem, check out this comprehensive guide.
Step 1: Setting Up Universal Control on Your Mac and iPad
Before you can start using Universal Control, you’ll need to enable it on both your Mac and iPad. Here’s how to do it:
On Your Mac:
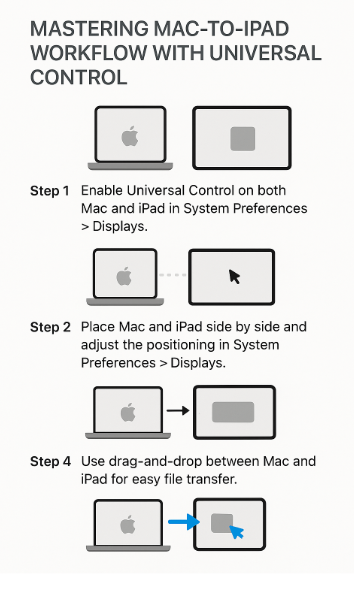
- Go to System Preferences > Displays.
- In the Displays tab, select Universal Control.
- Enable the options:
- Allow your cursor and keyboard to move between any nearby Mac or iPad.
- Push through the edge of the display to connect to a nearby Mac or iPad.
On Your iPad:
- Go to Settings > General > AirPlay & Handoff.
- Toggle Cursor and Keyboard to On.
Ensure both your Mac and iPad are signed in to the same Apple ID and connected to the same Wi-Fi network. Additionally, make sure that Bluetooth and Wi-Fi are enabled on both devices.
Step 2: Moving the Cursor Between Mac and iPad
Once Universal Control is set up, the next step is to use the cursor across both devices. Here’s how it works:
- Place your Mac and iPad side by side (or adjust their positions as needed in System Preferences > Displays).
- Move your Mac’s mouse cursor to the edge of the screen in the direction of the iPad.
- The cursor will “snap” to your iPad, allowing you to control it using the same mouse or trackpad.
This seamless movement between devices allows you to easily navigate and interact with both devices simultaneously, making Universal Control perfect for anyone who uses both Mac and iPad in their daily workflow.
Step 3: Dragging and Dropping Between Mac and iPad
One of the most impressive features of Universal Control is the ability to drag and drop files between Mac and iPad effortlessly. Here’s how:
- Select a file on your Mac.
- Drag it to the edge of the screen towards your iPad.
- Once the cursor reaches your iPad, continue dragging the file to the desired location on your iPad.
This function makes file management across your Apple devices incredibly easy, allowing you to move documents, images, and other files between your Mac and iPad with just a few simple steps.
Step 4: Using Keyboard and Mouse Across Both Devices
With Universal Control, your Mac’s keyboard and mouse will work seamlessly across both devices. You can type on your Mac and then move the cursor to your iPad to interact with apps or websites, or even control your iPad from your Mac. This feature is particularly useful for users who need to use both devices simultaneously for tasks like writing emails, managing documents, or working in creative applications.
Using Text Editing Across Devices:
For example, if you’re typing a document on your Mac and need to copy text to an app on your iPad, simply move the cursor to the iPad and paste it into the desired app.
Step 5: Troubleshooting Universal Control Issues
While Universal Control is incredibly intuitive, you may encounter occasional issues. Here are a few common problems and their solutions:
Issue 1: The Cursor Won’t Move to the iPad
- Solution: Ensure both devices are signed into the same Apple ID, connected to the same Wi-Fi network, and Bluetooth is enabled. Also, check the positioning settings in System Preferences > Displays to make sure both devices are correctly aligned.
Issue 2: Drag-and-Drop Not Working
- Solution: Check if Universal Control is enabled on both devices and that both devices are updated to the latest macOS and iPadOS versions. Restart both devices if necessary.
Issue 3: Devices Not Connecting
- Solution: Restart both devices and ensure that iCloud, Bluetooth, and Wi-Fi are enabled. Also, check that both devices are within close range of each other.
Step 6: New Features in Universal Control with macOS and iPadOS Updates
With each new update to macOS and iPadOS, Apple introduces enhancements to Universal Control. Here’s what’s new in the latest versions:
- Multiple Device Support:
- The latest updates allow you to use Universal Control across more than two devices, making it easier to work with Mac, iPad, and even another Mac simultaneously.
- Better Drag-and-Drop:
- Apple has improved the drag-and-drop functionality, making it smoother and faster across devices.
- Extended Screen Controls:
- macOS now supports extending your iPad screen as a secondary display, allowing you to use iPad as an external monitor for your Mac.
Conclusion: Unlocking the Power of Universal Control for Your Workflow
Universal Control is a game-changing feature for Mac and iPad users, allowing seamless integration and effortless multitasking between devices. By mastering Universal Control, you can improve productivity, manage your workflow, and streamline the use of Apple devices.
Whether you’re dragging and dropping files between your Mac and iPad, or using a single keyboard and mouse to control both devices, Universal Control makes managing multiple devices easier than ever. By integrating this feature into your daily routine, you can unlock the full potential of the Apple ecosystem.
For more insights on optimizing your Apple ecosystem, explore these related articles:
- Managing Multi-User Mac Environments in Family Sharing
- Managing Photo Libraries Across iPhone, Mac, and Apple Watch
- Mastering AirPods Accessibility Settings Across Your Devices
- Mastering Apple Keychain for Secure Cross-Device Password Management
- Mastering Hands-Free Calls and Siri Commands with AirPods