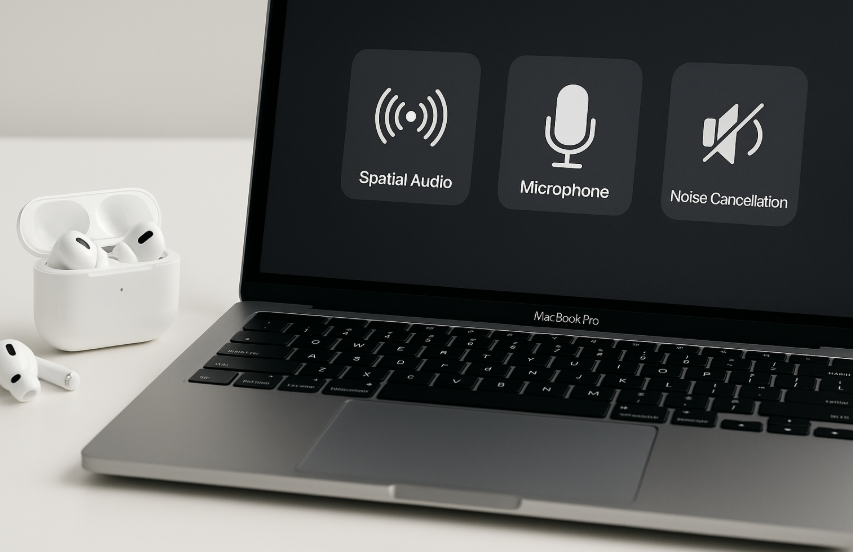
When it comes to achieving the best audio experience on your Mac with AirPods, it’s essential to configure both your audio settings and microphone correctly. Whether you’re using AirPods Pro, AirPods Max, or AirPods 3rd generation, setting them up for optimal sound, clarity, and comfort is crucial. This guide will show you how to adjust your Mac and AirPods for the best audio and microphone performance.
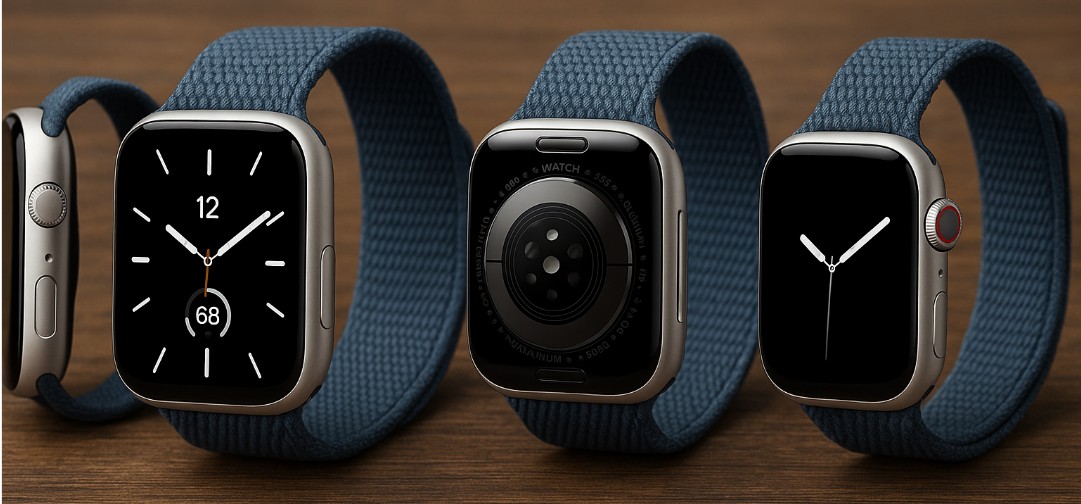
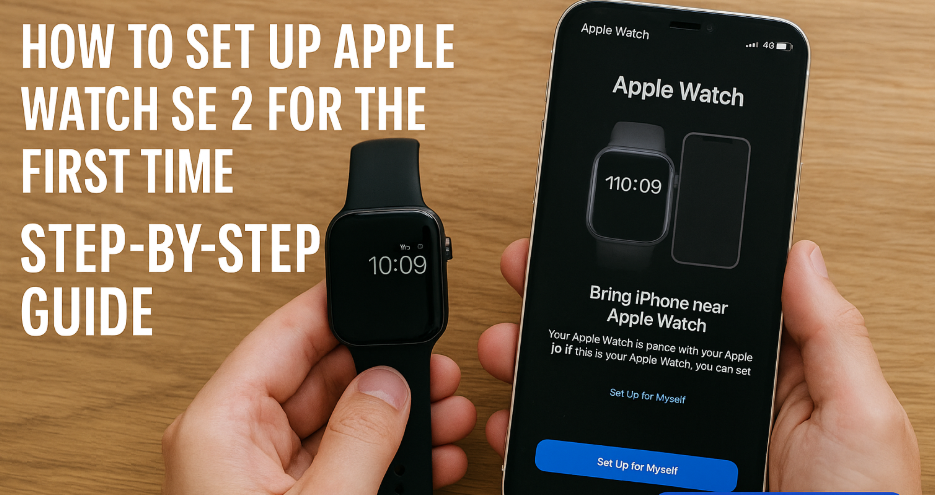
For an in-depth review of the Apple Watch SE 2nd Gen and its integration with the Apple ecosystem, check out our Comprehensive Guide.
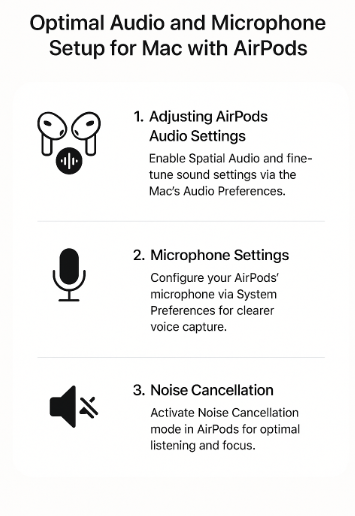
Step 1: Optimizing Your AirPods Audio Settings on Mac
One of the biggest advantages of using AirPods with your Mac is the ability to experience Spatial Audio and dynamic sound adjustments. Spatial Audio creates an immersive, surround-sound-like experience, which is perfect for movies, music, and games. Here’s how you can enable and optimize it:
How to Enable Spatial Audio:
- Connect Your AirPods to Your Mac: Ensure that your AirPods are connected via Bluetooth or AirPlay on your Mac.
- Open Sound Settings: Go to System Preferences > Sound on your Mac.
- Select AirPods as Your Output Device: Under the Output tab, choose your AirPods as the audio output.
- Enable Spatial Audio: If you’re using AirPods Pro or AirPods Max, turn on Spatial Audio in the Sound Preferences window.
Once Spatial Audio is enabled, you will notice a more dynamic and immersive sound experience that adjusts as you move your head, mimicking the feeling of surround sound. This feature works best with compatible content like Dolby Atmos movies and music in Apple Music.
Optimizing Your Sound Preferences:
- Adjust Volume Balance: You can adjust the volume balance for left and right channels in the Sound Preferences window if you have a preference for audio balance.
- Set Equalizer Settings: You can further refine your sound by setting an equalizer that suits your listening style in the Music app or via third-party apps.
Step 2: Microphone Setup for Clearer Communication
Whether you’re attending virtual meetings, recording podcasts, or making voice calls, setting up the microphone on your AirPods is essential for clear communication. Here’s how to optimize the microphone settings for your AirPods:
How to Set Up Your AirPods Microphone:
- Go to System Preferences: Open System Preferences > Sound on your Mac.
- Select the Input Tab: Under the Input tab, choose AirPods as the input device.
- Adjust Microphone Volume: Make sure the microphone volume is set correctly for your speaking volume. If you find that your voice is too quiet or too loud, adjust the input volume accordingly.
Microphone Quality Tips:
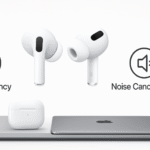
- Avoid Background Noise: AirPods Pro and AirPods Max come with Active Noise Cancellation and Transparency Mode, which can help reduce or enhance background noise based on your preferences. This is especially useful when recording or speaking in noisy environments.
- Use the AirPods’ Built-In Microphone: If you’re using the AirPods Pro or AirPods Max, ensure you’re utilizing the in-built microphones rather than the external microphones in the case of background noise.
Step 3: Maximize Noise Cancellation for Focused Listening
AirPods Pro and AirPods Max offer Active Noise Cancellation (ANC), which is crucial for an immersive listening experience, especially in loud environments. Here’s how to set it up:
How to Enable Active Noise Cancellation (ANC):
- Open Control Center on Your Mac: Click the volume icon in the menu bar.
- Select AirPods: Choose your AirPods from the list of audio devices.
- Enable Noise Cancellation: If using AirPods Pro or AirPods Max, switch to Noise Cancellation mode.
Alternatively, you can also adjust the noise settings from the AirPods Settings in System Preferences to select your preferred mode (either Noise Cancellation, Transparency Mode, or Off).
Step 4: Troubleshooting Common Audio and Microphone Issues
While the integration between AirPods and Mac is seamless, you may encounter occasional issues with audio or microphone performance. Here’s how to resolve some of the common problems:
Issue 1: Low Sound Quality or No Audio
- Solution: Ensure that your AirPods are selected as the output device in System Preferences > Sound. Check if Spatial Audio is enabled for an enhanced experience.
Issue 2: Microphone Not Working
- Solution: In System Preferences > Sound, check if your AirPods are selected as the input device. If the microphone still doesn’t work, reset the AirPods by unpairing and re-pairing them with your Mac.
Issue 3: Background Noise During Calls
- Solution: Make sure Noise Cancellation is activated on your AirPods Pro or AirPods Max. If you’re using older models of AirPods, try switching to a quieter environment or use a third-party app to reduce background noise.
Step 5: Additional Tips for Maximizing AirPods Audio Experience
Use AirPods for Seamless Cross-Device Switching:
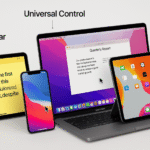
Thanks to the Apple ecosystem, AirPods can seamlessly switch between your Mac, iPhone, and iPad without needing to manually reconnect. This is ideal for users who switch between multiple devices throughout the day.
Use with Apple Music for High-Fidelity Sound:
When paired with AirPods Max or AirPods Pro, Apple Music’s Lossless Audio format offers an incredible level of detail in your music. To enable Lossless Audio, go to System Preferences > Music and choose the Lossless audio quality for your AirPods.
Conclusion
By optimizing your AirPods audio settings, microphone, and noise cancellation, you can enhance your overall experience when using them with your Mac. Whether you’re working, listening to music, or participating in virtual meetings, the AirPods provide versatile and high-quality audio features. By adjusting settings like Spatial Audio, microphone levels, and Noise Cancellation, you’ll maximize their potential and improve productivity.
For further tips on optimizing your Mac and iPad experience, check out these related articles: