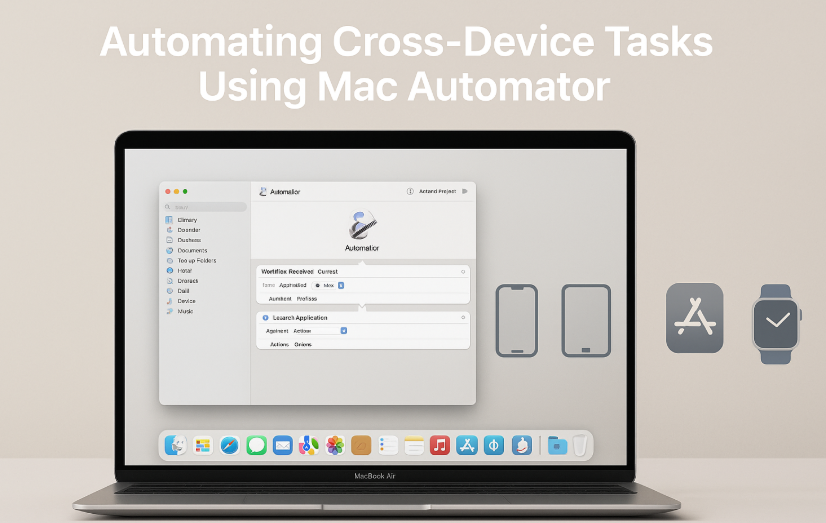
In today’s fast-paced digital world, efficiency is key. One of the best ways to streamline your workflow is by automating repetitive tasks across devices. If you’re an Apple user, Mac Automator is the perfect tool to help you create custom workflows that integrate seamlessly across your devices. Whether it’s transferring files from your Mac to your iPhone or syncing data between your Apple Watch and Mac, Automator lets you simplify and speed up your daily tasks. In this guide, we’ll walk you through the steps of using Mac Automator to automate cross-device tasks, saving you time and improving your overall productivity.
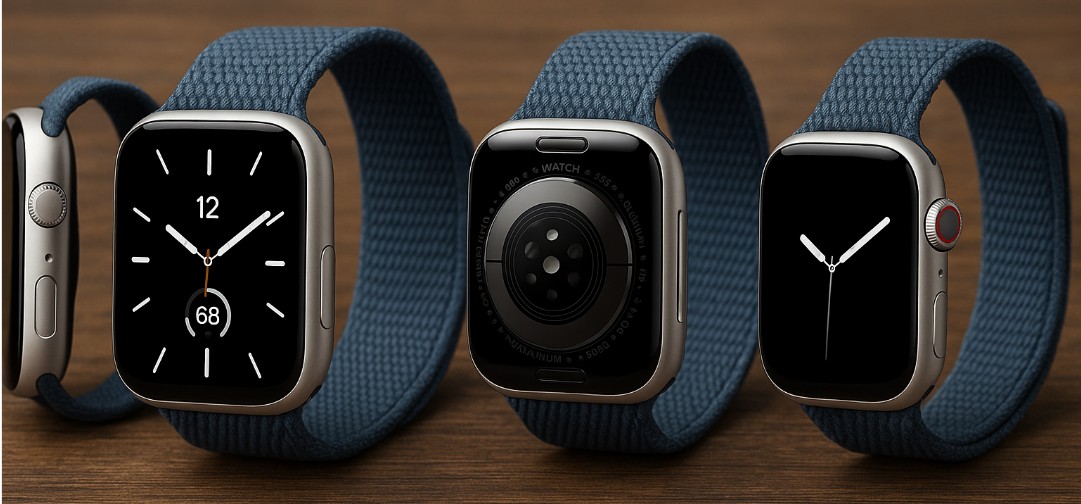
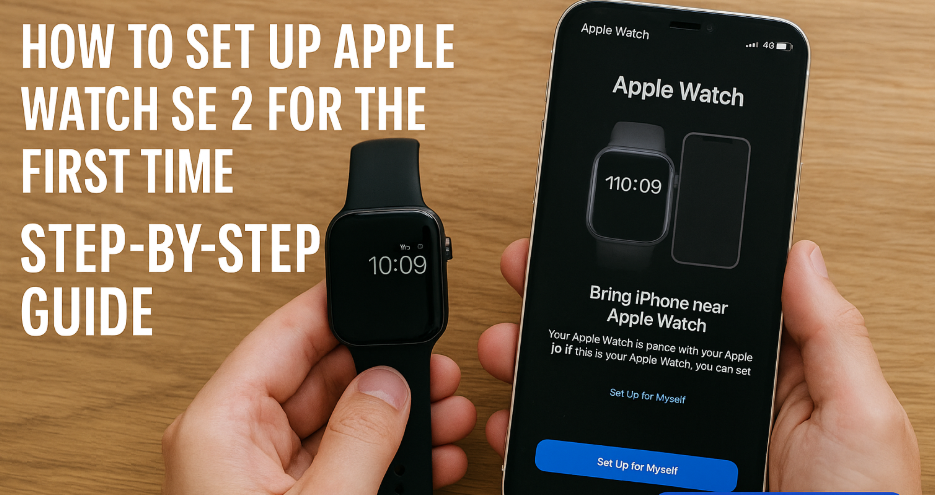
For more on how the Apple Watch integrates into your digital life, check out this detailed Apple Watch SE 2nd Gen review.
What is Mac Automator and How Does It Work?
Before diving into the specifics, let’s first explore what Automator is. Automator is a built-in macOS app that lets users create custom workflows for automating tasks on their Mac. With Automator, you can automate repetitive processes such as renaming files, resizing images, sending emails, or even triggering actions on other Apple devices.
By utilizing a variety of predefined actions, you can design simple or complex workflows that run with just a click or when triggered by specific events. Whether you’re automating a one-step task or a multi-step process, Automator is a powerful tool to help you save time and enhance productivity.
Step 1: Open Automator and Select a Workflow Type
The first step in using Automator to automate cross-device tasks is to open the app and choose a workflow type. Here’s how:
- Step 1: Open the Automator app on your Mac (you can search for it using Spotlight).
- Step 2: Select the type of workflow you want to create. You can choose from:
- Workflow: A series of actions that can be run directly from Automator.
- Application: A self-contained application that you can run on your Mac.
- Service: An action that integrates with macOS to be used in specific contexts (e.g., in Finder).
- Folder Action: A workflow that runs when files are added to a specific folder.
For this tutorial, we’ll focus on creating a Workflow, but you can adapt these steps to other types of workflows.
Step 2: Add Actions to Your Workflow
Now that you’ve selected your workflow type, it’s time to start adding actions. Automator offers hundreds of built-in actions, and many can be combined to create a seamless automation process across your devices. Here’s how to add actions:
- Step 1: In the Automator window, you’ll see a library of available actions on the left side. These actions are categorized by function (e.g., Files & Folders, Internet, Music, etc.).
- Step 2: Drag and drop the actions you want to use into the workflow area on the right side. Some examples of actions you can add are:
- Launch Application: Open apps on your Mac or other devices.
- Send Email: Automatically send an email from your Mac or iPhone.
- Get Folder Contents: Fetch files from a specific folder on your Mac and sync them to your iPhone or iPad.
- Run AppleScript: Trigger custom AppleScripts for more advanced workflows.
For instance, you could create a workflow that automatically transfers files from your Mac to iPhone when a folder is updated or a workflow that turns on specific smart home devices when you arrive home.
Step 3: Set Triggers for Cross-Device Automation
One of the most powerful features of Mac Automator is its ability to trigger actions based on specific events or conditions. This is where you can set up automation that spans multiple Apple devices. Here are some common ways to trigger automation across devices:
- Use iCloud Syncing: Ensure that the content you want to sync (e.g., files, calendar events) is available across all your devices via iCloud. By adding an action to Automator that syncs files to iCloud, you can make those files available on your iPhone or iPad.
- Use the “Run AppleScript” Action: AppleScript can be used to interact with other Apple devices. For example, you could write a script that sends a command to your iPhone to open an app or trigger an event on your Apple Watch.
- Automate via Time of Day: Set Automator workflows to run at specific times or intervals. For example, automate sending a daily report from your Mac to your iPhone at a certain time.
To set up triggers, use the Automator actions such as Get Specified Finder Items, Ask for Confirmation, or Run AppleScript to define when the workflow should activate.
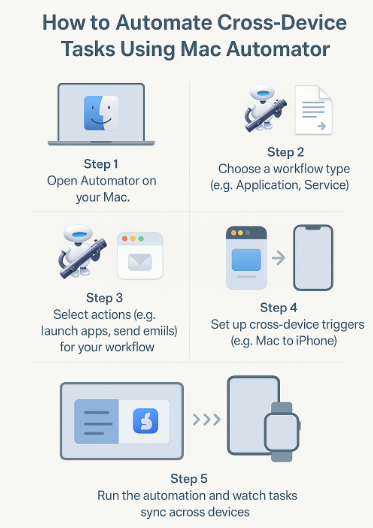
Step 4: Test and Run Your Workflow
Once you’ve created your workflow and added all the necessary actions, it’s time to test it. Here’s how to run your workflow:
- Step 1: Click the Run button in the upper-right corner of the Automator window to test your workflow.
- Step 2: If everything works as expected, save your workflow. You can save it as an application, which you can run manually, or as a service, which can be accessed from the Mac’s right-click menu or other triggers.
If your workflow involves syncing tasks across devices, check your iPhone, iPad, or other devices to ensure the automation is running correctly.
Step 5: Automate Routine Cross-Device Tasks
Now that you know how to set up a basic Automator workflow, let’s explore a few common use cases for automating cross-device tasks:
- Sync Files Between Mac and iPhone: Create a workflow that automatically transfers files from a designated folder on your Mac to your iPhone via iCloud.
- Automate Backups: Set up a workflow that backs up important files from your Mac to iCloud, Dropbox, or another cloud service, ensuring access from any Apple device.
- Automate Text or Email Notifications: Create workflows that send you automatic notifications (via text or email) about important tasks or upcoming events, synced across your Apple devices.
- Smart Home Automation: Use Automator with HomeKit to trigger smart home devices when you arrive home or when your Mac detects specific events (like starting a specific app).
Troubleshooting Common Issues
While Automator is a powerful tool, you might encounter some issues, such as:
- Workflow not running as expected: Double-check the actions in your workflow and make sure all devices are connected to the same iCloud account.
- Triggers not firing: Ensure that triggers (e.g., time-based or AppleScript) are set up correctly.
- Cross-device sync issues: Confirm that iCloud syncing is enabled on all devices involved in the automation.
By addressing these common issues, you can ensure that your Automator workflows run smoothly across all your Apple devices.
Conclusion: Unlock the Power of Automation with Mac Automator
Mac Automator is an incredibly powerful tool that can help you automate everyday tasks across your Apple devices. By following this guide, you can set up workflows that save time, increase efficiency, and streamline your digital life. From syncing files to automating smart home control, Automator opens up endless possibilities for productivity and convenience.
For more tips on automating your Apple devices, check out these helpful articles:
- How to Manage Mac Photos Across the Entire Apple Ecosystem
- How to Seamlessly Integrate AirPods into Your Work-from-Home Setup
- How to Set Up Your iPhone as the Central Hub of Your Apple Ecosystem
- How to Sync Apple Watch Podcasts and Audiobooks Across Devices
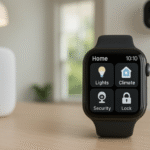
- How to Use Apple Watch for Smart Home Control