In the world of digital convenience, Apple Wallet stands out as one of the most powerful tools for managing your finances, tickets, and personal information. Whether you’re using it to store your credit cards, boarding passes, event tickets, or membership cards, Apple Wallet is designed to make life easier by allowing you to access everything you need with a simple tap or swipe. But what makes Apple Wallet even more powerful is its seamless integration across all Apple devices, including the iPhone, Apple Watch, iPad, and Mac.
In this guide, we’ll show you how to manage Apple Wallet across your devices, making it easy to access your information securely and effortlessly, no matter where you are.
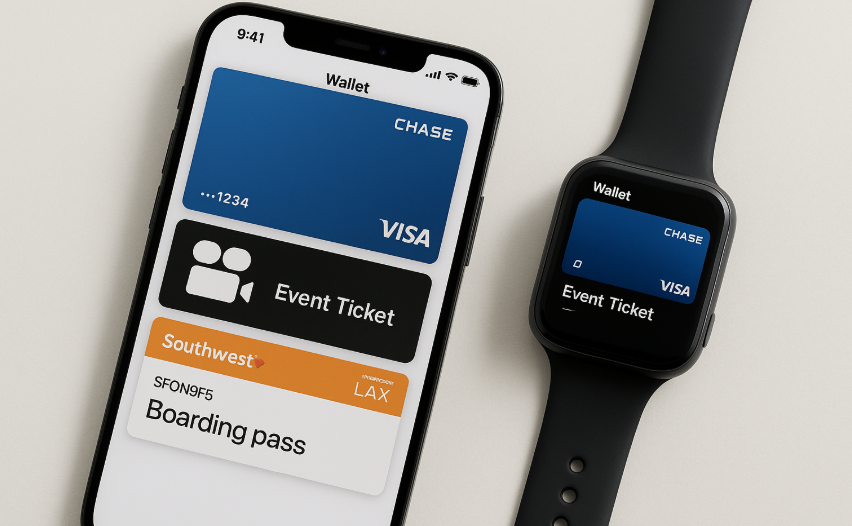
For more insights into how the Apple Watch fits into your digital ecosystem, check out this detailed Apple Watch SE 2nd Gen review.
What Is Apple Wallet?
Apple Wallet is a built-in app that allows users to store and manage various types of digital passes, cards, and tickets. The app integrates with Apple Pay to provide an easy and secure way to make payments using your iPhone, Apple Watch, and iPad. It also supports storing boarding passes, movie tickets, event tickets, and even loyalty cards.
With Apple Wallet, everything you need is in one place, accessible directly from your Apple devices. Whether you’re boarding a plane or making a quick in-store purchase, Apple Wallet simplifies your life by reducing the need for physical cards or documents.
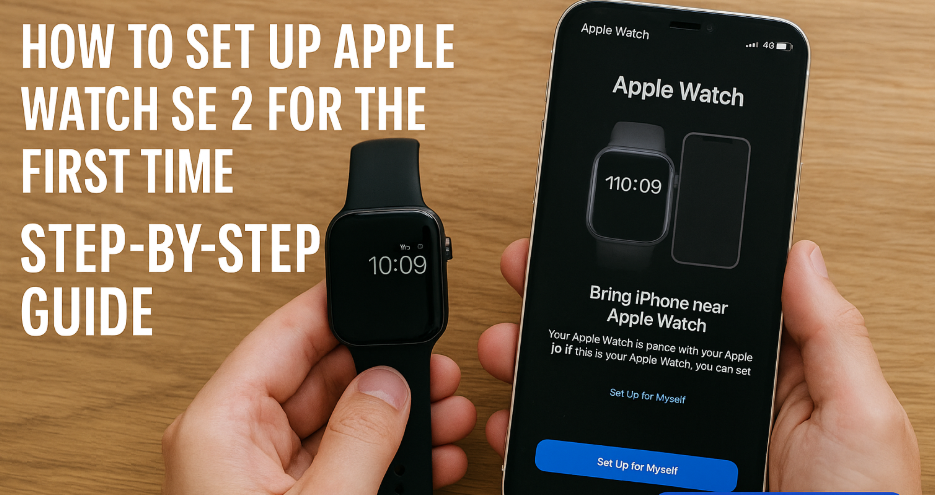
Step 1: Setting Up Apple Wallet on Your Devices
To use Apple Wallet, you’ll need to set it up across your devices. Follow these easy steps:
On Your iPhone:
- Open the Wallet app: On your iPhone, tap the Wallet app to launch it.
- Add a Card or Pass:
- To add a credit card or debit card, tap Add Card and follow the prompts to enter your card information or scan your card.
- To add boarding passes, tickets, or event passes, simply select Add Pass and scan or enter the information.
On Your Apple Watch:
- Open the Watch app: On your iPhone, open the Watch app and scroll down to Wallet & Apple Pay.
- Add Cards to Apple Watch: Tap Add Credit or Debit Card to add your payment methods or passes to your Apple Watch. This will allow you to make payments directly from your wrist.
Once you’ve added your cards and passes to Apple Wallet on your devices, you can start using them immediately.
Step 2: Synchronizing Apple Wallet Across Devices
One of the most convenient features of Apple Wallet is its seamless integration across all your Apple devices. By logging into your Apple ID, Apple Wallet will sync automatically across your iPhone, Apple Watch, iPad, and Mac.
iPhone, Apple Watch, and iPad Synchronization:
- Wallet Syncing: Any credit cards, debit cards, passes, or loyalty cards you add on your iPhone will automatically sync to your Apple Watch or iPad, as long as you’re signed into the same Apple ID.
- Managing Transactions: You can manage transactions from your iPhone, Apple Watch, or iPad. Whether you make a payment or add a new pass, it will be updated across all your devices.
Mac Synchronization:
- You can also use Apple Wallet on your Mac to make purchases using Apple Pay. Simply use Apple Pay when checking out on websites that support it.
Step 3: Using Apple Wallet for Payments
The most common use of Apple Wallet is to make secure payments with Apple Pay. Here’s how you can use Apple Wallet to pay for goods and services:
Using Apple Pay on Your iPhone:
- Activate Apple Pay: On your iPhone, double-tap the side button to bring up Apple Pay.
- Select Your Card: Choose the card you want to use for payment.
- Authenticate the Payment: Use Face ID or Touch ID to authenticate the payment.
- Tap to Pay: Hold your iPhone near the contactless payment reader to complete the transaction.
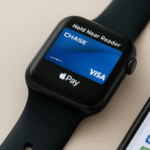
Using Apple Pay on Your Apple Watch:
- Activate Apple Pay: On your Apple Watch, double-tap the side button.
- Select Your Card: Choose the card you want to use for payment (you can set a default card).
- Authenticate Payment: Your Apple Watch will authenticate the payment using your wrist’s passcode or biometric data.
- Tap to Pay: Hold your Apple Watch near the payment reader to make the payment.
With Apple Pay, you don’t need to carry physical cards. Your iPhone or Apple Watch can serve as your wallet for secure, contactless payments.

Step 4: Managing and Organizing Your Wallet
Apple Wallet makes it easy to manage and organize your digital cards and passes. Here are some tips for keeping everything organized:
- Rearranging Cards:
- In Wallet, tap and hold any card to drag it to a new position. This makes it easier to prioritize your most-used cards, such as your default payment card or boarding pass.
- Removing Cards or Passes:
- If you no longer need a card or pass, you can remove it by tapping on the card, then selecting Remove Pass or Delete Card.
- View Transaction History:
- You can view your recent Apple Pay transactions by selecting a card and tapping Transaction History.
Step 5: Troubleshooting Common Issues with Apple Wallet
Though Apple Wallet is designed to work seamlessly, you may occasionally encounter issues. Here are some common problems and solutions:
Apple Wallet Not Syncing Across Devices:
- Ensure all your devices are logged into the same Apple ID.
- Try restarting both your iPhone and Apple Watch to force a sync.
- Check your iCloud settings to make sure Wallet is enabled for synchronization.
Unable to Add a Card to Apple Wallet:
- Make sure the card is supported by Apple Pay. Some cards may not be eligible for use with Apple Pay.
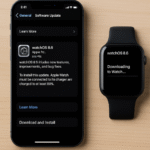
- Ensure your iPhone or Apple Watch is updated to the latest software version.
- Contact your bank or card issuer if the issue persists, as some cards may require additional verification.
Payments Not Working:
- Check if your Apple Pay settings are properly configured.
- Make sure you’re holding the iPhone or Apple Watch near the contactless payment reader.
- Ensure your Apple Wallet has sufficient funds, or that your payment card is not expired.
Conclusion: Mastering Apple Wallet Across Devices
Managing Apple Wallet across all your Apple devices is a game-changer, making it easy to access your cards, passes, and tickets whenever you need them. Whether you’re using Apple Pay to make secure payments or organizing your loyalty cards and event tickets, Apple Wallet provides a streamlined, digital alternative to a physical wallet. By setting up Apple Wallet on your iPhone, Apple Watch, iPad, and Mac, you’ll enjoy a seamless experience that’s both convenient and secure.
For more tips on managing your Apple ecosystem, check out these related articles: