In today’s world, AirPods are not just a tool for listening to music they’ve become an integral part of the Apple ecosystem. From hands-free calls to personalized audio settings, AirPods provide a seamless experience across iPhone, Mac, and Apple Watch. But did you know that AirPods also offer a range of accessibility settings to help those with hearing impairments or other audio needs?
By mastering these accessibility settings, you can significantly enhance your audio experience and optimize AirPods for your specific needs. Whether you’re adjusting the sound balance or using Siri for hands-free control, AirPods have various features that make them incredibly adaptable.
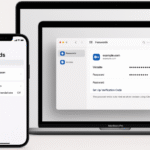
For a complete guide on Apple Watch SE 2nd Gen and its integration with other Apple devices, check out this detailed review.
Step 1: Accessing AirPods Accessibility Settings on iPhone
Your iPhone serves as the central hub for managing AirPods settings. Here’s how to access and customize the accessibility settings:
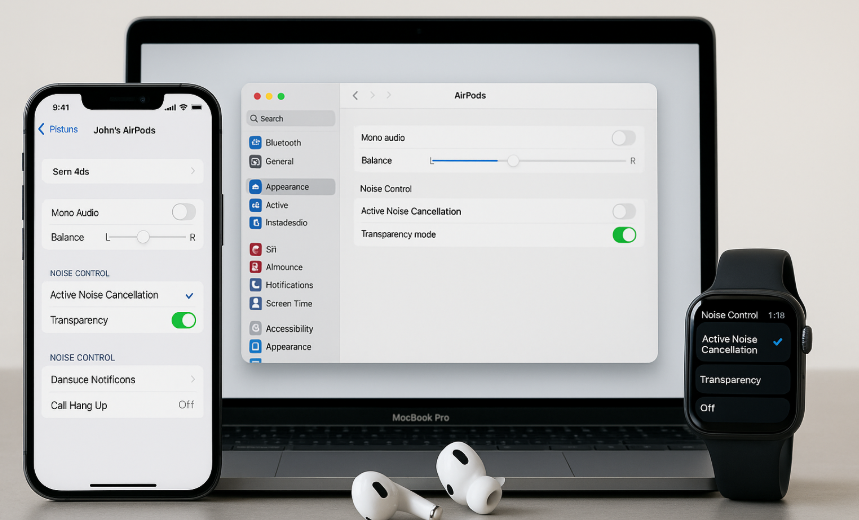
- Open Bluetooth Settings:
- On your iPhone, go to Settings > Bluetooth.
- Find your AirPods in the list and tap the info icon (i) next to them.
- Enable Mono Audio:
- Under Accessibility, enable Mono Audio if you have hearing impairments in one ear. This setting combines the stereo audio into a single channel so both ears receive the same sound.
- Adjust Audio Balance:
- Adjust the balance slider under Audio/Visual to make sure the audio is directed equally to both ears or to your stronger ear if you have hearing loss in one ear.
- Customize Noise Control:
- AirPods Pro and AirPods Max offer Active Noise Cancellation (ANC) and Transparency Mode. You can customize these features by navigating to Settings > Bluetooth, selecting your AirPods, and enabling or disabling these modes based on your environment.
Step 2: Customizing AirPods Settings for Better Hearing
AirPods are equipped with features designed to enhance the audio experience for users with hearing impairments. Here’s how you can optimize those settings:
- Live Listen:
- Live Listen lets you use your iPhone as a microphone, amplifying sounds in your environment and sending them directly to your AirPods. This can be extremely helpful for hearing conversations in noisy environments.
- To use Live Listen, go to Settings > Control Center and add Hearing. Then, swipe down from the top-right corner of your screen to access the Control Center and activate Live Listen.
- Customizable Audio Settings:
- For AirPods Pro and AirPods Max, you can adjust the equalizer settings to customize the bass, mid-range, and treble frequencies to suit your hearing preferences.
- You can also adjust the sound balance to fine-tune the audio experience to your liking.
- Transparency Mode:
- In Transparency Mode, external sounds are mixed with your audio, allowing you to hear your surroundings while still enjoying your music or calls. This is particularly useful for users who need to stay aware of their environment, like while walking outside.
Step 3: Setting Up Siri for Voice Commands with AirPods
One of the most powerful accessibility features of AirPods is the ability to use Siri for hands-free control. Here’s how you can make the most of Siri on your AirPods:
- Activate Siri:
- To activate Siri, simply say, “Hey Siri” when wearing your AirPods.
- You can also tap the AirPods to trigger Siri for tasks like adjusting volume, skipping tracks, answering calls, or sending messages.
- Use Siri for Accessibility Tasks:
- You can ask Siri to adjust the volume, change the balance, or switch between noise cancellation and transparency mode. For example, saying “Hey Siri, turn on Transparency Mode” will adjust your AirPods to let in outside sounds.
Step 4: Syncing AirPods Accessibility Settings Across Devices
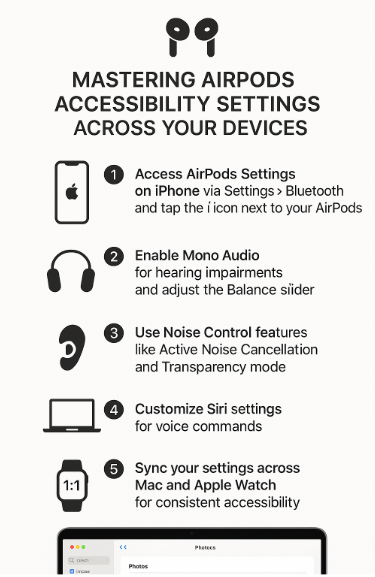
To create a consistent experience, you can sync your AirPods settings across iPhone, Mac, and Apple Watch. Here’s how to ensure your settings stay consistent:
- iPhone and Mac Sync:
- Once iCloud is enabled on both your iPhone and Mac, your AirPods settings (such as Mono Audio and Noise Control) will automatically sync across devices.
- Go to System Preferences on your Mac and select iCloud to enable sync.
- Apple Watch Sync:
- For users with Apple Watch, AirPods settings sync with the iPhone but not directly with the Apple Watch. You can control your AirPods features like audio balance and transparency directly from the iPhone.
Step 5: Troubleshooting Common AirPods Accessibility Issues
While AirPods provide a smooth experience, issues can arise with accessibility settings. Here are common problems and solutions:
Issue 1: Mono Audio Not Working
- Solution: Ensure Mono Audio is enabled in Settings > Accessibility. If it still doesn’t work, restart both your iPhone and AirPods and check if the issue persists.
Issue 2: Noise Cancellation or Transparency Not Working
- Solution: Check if Active Noise Cancellation and Transparency Mode are correctly enabled in the Settings > Bluetooth section for your AirPods. Ensure your AirPods are connected to your iPhone or Mac.
Issue 3: Siri Not Responding
- Solution: Make sure Siri is activated on your iPhone and ensure AirPods are connected. If needed, re-pair your AirPods with your iPhone.
Step 6: New Features with AirPods and watchOS/macOS Updates
Apple continues to enhance accessibility features with new watchOS and macOS updates. Some new features may include:
- Improved Audio Control:
- Updates to AirPods may allow finer control over audio settings, such as better bass response or the ability to further customize transparency levels.
- Smart Siri Suggestions:
- New updates may bring smarter Siri suggestions, enabling your AirPods to predict tasks and adjust settings based on your routine or location.
Conclusion: Enhancing Your AirPods Experience Through Accessibility Features
Mastering AirPods accessibility settings can dramatically improve your listening experience. Whether you’re adjusting audio settings for better hearing, using Siri for hands-free control, or syncing across all your Apple devices, the versatility of AirPods offers personalized experiences for everyone.
By taking full advantage of these accessibility settings, you can ensure that your AirPods are optimized for your specific needs, making them more than just a device for listening—but an integral part of your daily workflow and entertainment.
For more tips on maximizing your Apple ecosystem, check out these related articles: