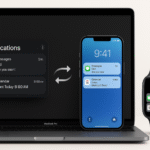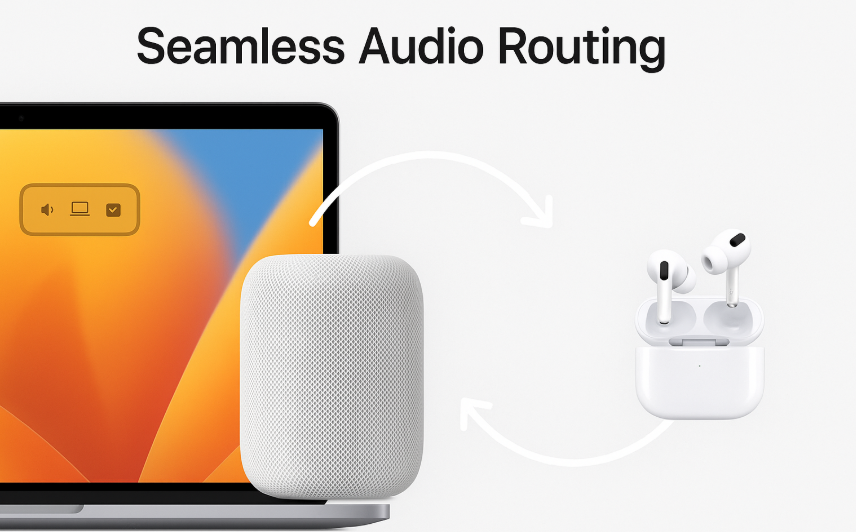
Apple’s ecosystem is designed to provide a smooth, integrated experience, and when it comes to audio, the combination of Mac, HomePod, and AirPods delivers superior sound with seamless switching. Whether you’re enjoying music, podcasts, or a video call, seamlessly routing audio between these devices can elevate your experience. With macOS, iOS, and HomePod features, it’s easier than ever to enjoy consistent and quality audio output without missing a beat.
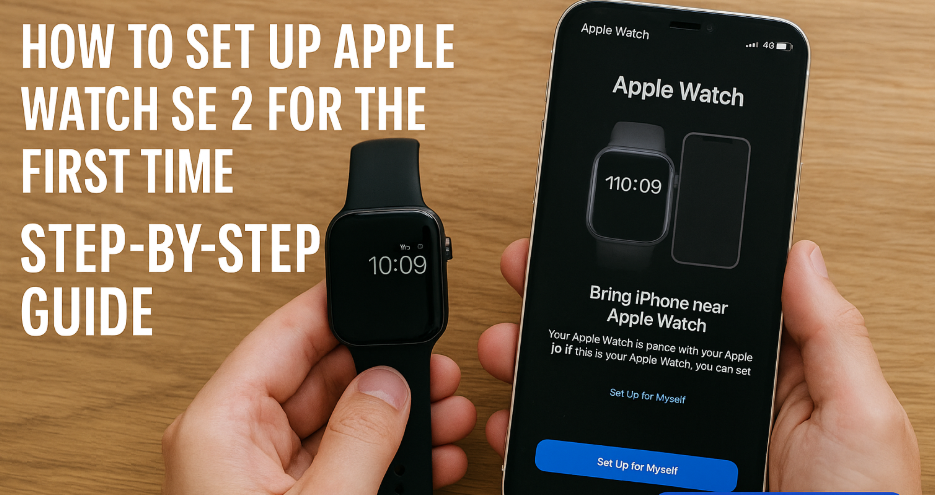
For an introduction to the capabilities of your Apple Watch SE 2nd Gen, you can read our Comprehensive Guide.
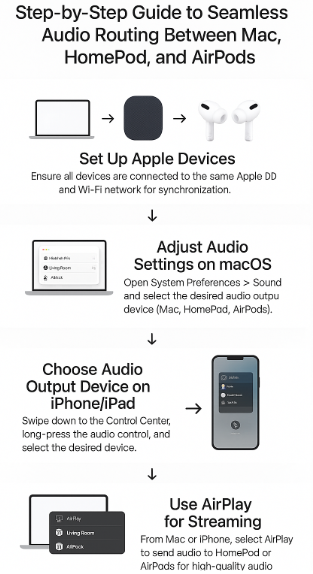
Step 1: Ensure All Devices Are On the Same Network
To begin routing audio between your Mac, HomePod, and AirPods, you must first ensure that all devices are connected to the same Apple ID and Wi-Fi network. Without these essential connections, seamless audio routing may not work.
How to Check Device Connectivity:
- On your Mac:
- Go to System Preferences > Network to confirm you’re connected to the same network as your HomePod and AirPods.
- On your iPhone/iPad:
- Go to Settings > Wi-Fi to ensure you’re connected to the same network.
- On your HomePod:
- Open the Home app on your iPhone, and check the status of your HomePod. It should display the same Wi-Fi network name as your Mac and iPhone.
Once all devices are on the same network, you can begin streaming and controlling audio seamlessly.
Step 2: Adjust Audio Settings on macOS
When working with macOS, it’s crucial to ensure that your system’s audio output settings are correctly configured. This allows for seamless switching between Mac, HomePod, and AirPods.
How to Set Up Audio on macOS:
- Open System Preferences > Sound.
- Under the Output tab, you’ll see all available devices.
- Select Mac, AirPods, or HomePod depending on which device you wish to route the audio to.
- Test the sound output to ensure it’s routed correctly.
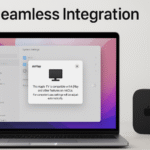
macOS also offers AirPlay as a means to stream content directly to HomePod. If you’re playing music or video, you can click the AirPlay icon in the audio/video player and select HomePod for high-quality audio playback.
Step 3: Switch Between Devices Using AirPlay and Control Center
Once your devices are set up, Apple makes it easy to route audio between Mac, AirPods, and HomePod using AirPlay and Control Center. This functionality is available on macOS, iPhone, and iPad, enabling quick switching for a smooth listening experience.
How to Use AirPlay on macOS:
- Play any audio or video on your Mac.
- Click the AirPlay icon in the media player or System Preferences > Sound.
- Choose the desired device (HomePod or AirPods) to route the audio to.
How to Use AirPlay on iPhone/iPad:
- Open the Control Center (swipe down on iPhone/iPad).
- Long-press the audio card to bring up the AirPlay options.
- Select HomePod, AirPods, or another compatible device.
AirPlay’s ease of use ensures you can quickly switch between devices without needing to dive deep into settings.
Step 4: Optimizing Audio Experience for Each Device
To get the most out of your Mac, HomePod, and AirPods, you’ll want to optimize the audio settings for each device. This is especially important if you’re using HomePod for your home entertainment or AirPods for personal listening.
Optimizing Sound Quality on HomePod:
- Ensure that your HomePod is in an open area with minimal obstruction for optimal sound quality.
- Use Apple Music to stream high-definition audio directly to HomePod for the best experience.
Optimizing Sound Quality on AirPods:
- With AirPods Pro, you can enable Active Noise Cancellation (ANC) or Transparency Mode to adjust your listening experience based on your environment.
- For spatial audio, make sure Spatial Audio is enabled in your iPhone/iPad settings, especially when watching videos or listening to music in Dolby Atmos.
Step 5: Troubleshooting Common Audio Routing Issues
Despite all the advancements in Apple ecosystem integration, sometimes things don’t always go as planned. Here are some common issues and how to resolve them:
Problem 1: Audio Not Routing to Desired Device
- Solution: Ensure that your devices are connected to the same Wi-Fi network and that AirPlay is enabled. Check your Sound settings on macOS or iPhone to verify the output device.
Problem 2: Audio Lag or Syncing Issues
- Solution: If you’re experiencing audio lag, check your Wi-Fi network for any disruptions or bandwidth issues. Restarting the devices involved can also help clear up sync problems.
Problem 3: Unable to Connect AirPods to Mac or HomePod
- Solution: Ensure that your AirPods are properly paired with your Mac or iPhone. If you’ve recently paired them with another device, try disconnecting and reconnecting.
Step 6: Advanced Features for Power Users
For more advanced users, there are additional tips and tricks you can implement for an even smoother experience.
- Use Siri to Control Audio:
You can use Siri to control the routing of audio across Mac, AirPods, and HomePod. Simply say, “Hey Siri, play music on HomePod” or “Hey Siri, switch to AirPods.” - Multi-Room Audio with AirPlay 2:
For a truly immersive experience, you can connect multiple HomePods to your Mac or iPhone to create a multi-room audio setup. AirPlay 2 allows you to sync audio across rooms for a surround-sound effect.
Conclusion
The integration of Mac, HomePod, and AirPods within the Apple ecosystem is designed to provide seamless audio routing, enhancing your listening experience. By ensuring your devices are synced, optimizing sound quality, and leveraging tools like AirPlay and Siri, you can enjoy high-quality audio across all Apple devices. Troubleshooting and advanced features further ensure that your experience remains smooth and free from interruptions.
For more tips on Apple device optimization, check out these related articles: